New Roof – New Solar Part 2
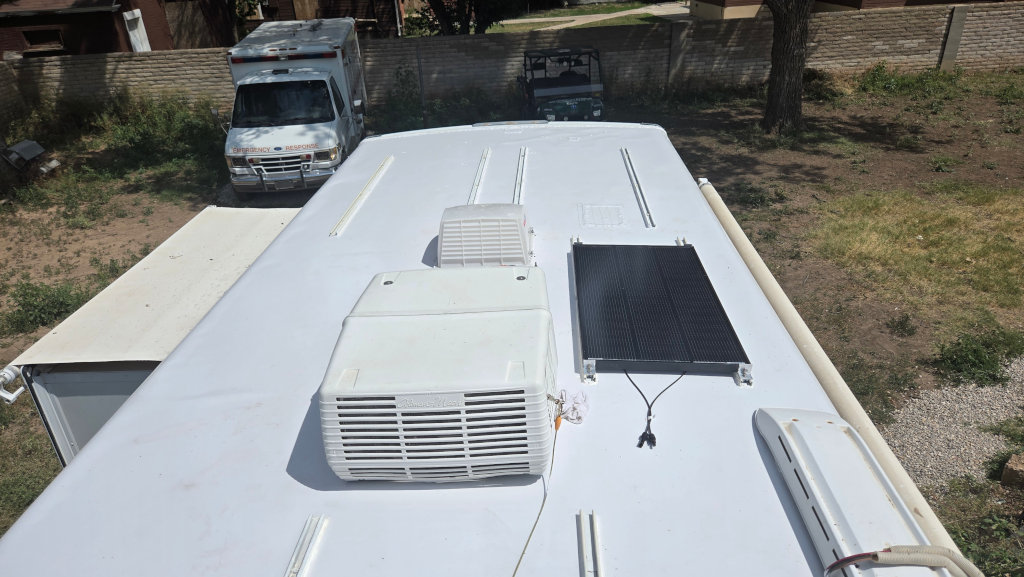
With the roof repaired, prepped, painted, and ready, it was finally time to install the new solar panels.
But before we jump ahead – let’s rewind for a moment. In Part One, I mentioned that we mounted the strut channels before the two coats of new paint went on. Here’s a closer look at that process.
We actually borrowed the idea for mounting rigid solar panels from one of my favorite YouTube channels, RV with Tito
He’s always full of clever, practical DIY solutions for RV improvements and repairs, and we can’t recommend his channel enough if you’re into that sort of thing.
For this project, the strut channels were glued directly onto the fiberglass roof. I used 3M VHB tape (type 5952) – the thicker foam version. This type works especially well on fiberglass since its foam core can handle minor surface irregularities better than the thin varieties.
Before installation, we painted the strut channels (except for the underside where the adhesive would go). To add extra strength, we placed a strip of Eternabond tape inside each channel to cover the slots in the strut channel. Than it was time to clean the glueing surface thoroughly with Acetone. We then applied the VHB tape along the full length – leaving about a 1-inch slot open in the center to act as a weep hole.
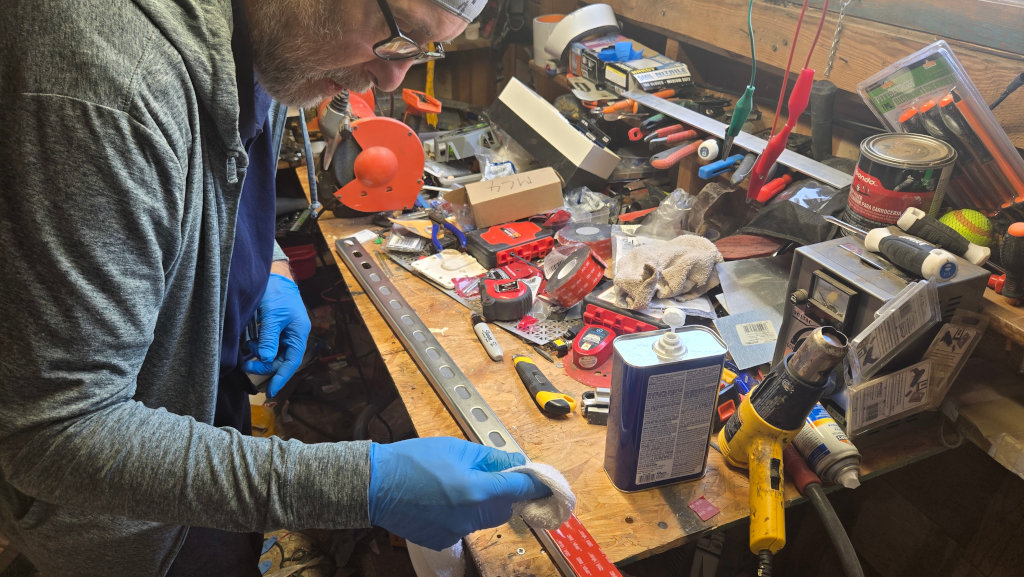
The locations for the strut channels had already been marked on the roof. After giving the fiberglass a thorough cleaning with acetone, it was time to secure them in place.
While we have a lot of trust in 3M VHB tape (see my earlier article), we decided to add extra security by installing three coarse 2-inch screws in each channel – one at the front, one in the middle, and one at the back. To make sure those fasteners would never back out, we coated both the screws and their threads with 3M Marine Permanent Adhesive Sealant 5200 (fast cure). This essentially glued them in place for good.
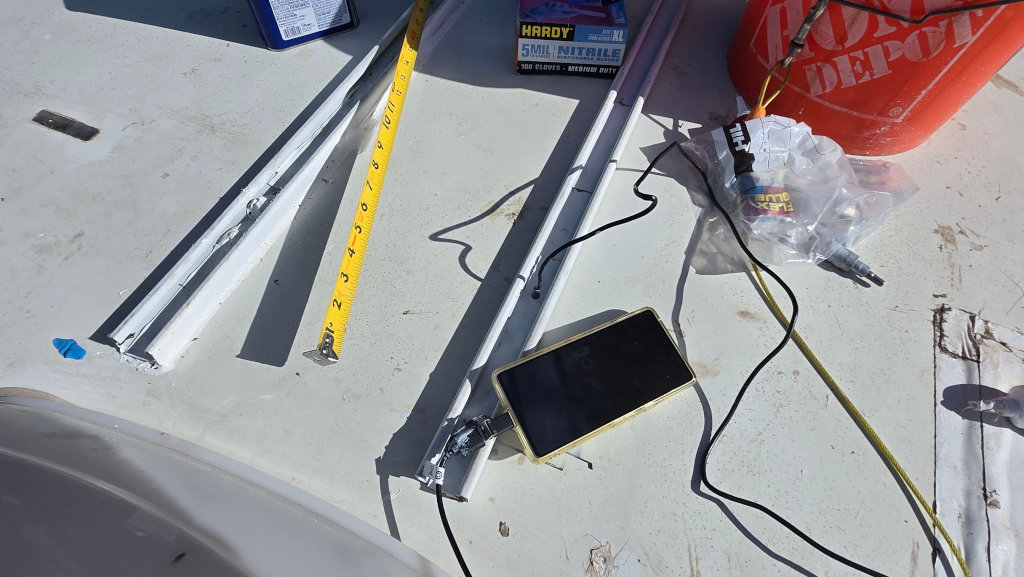
Because cable channels run just beneath the fiberglass, we took extra precautions before drilling. We started with a small pilot hole and used a tiny borehole camera to confirm that the screws wouldn’t hit any wiring. That little step gave us peace of mind before driving in the larger fasteners.
Finally, we sealed along the sides and front of each strut channel with more 3M 5200. This not only shields the VHB tape from moisture but also adds another layer of bonding strength.
Once all the channels were secured, we gave the project a two day break to cure before moving forward. Then it was back to roof work: cleaning, prepping, and painting (as detailed in Part One). That stage alone took about four days from start to finish.
With the roof finally complete, it was time for the exciting part—installing the solar panels. For this step, we followed RV With Tito’s method almost to the letter. His process is clearly explained in this excellent video tutorial
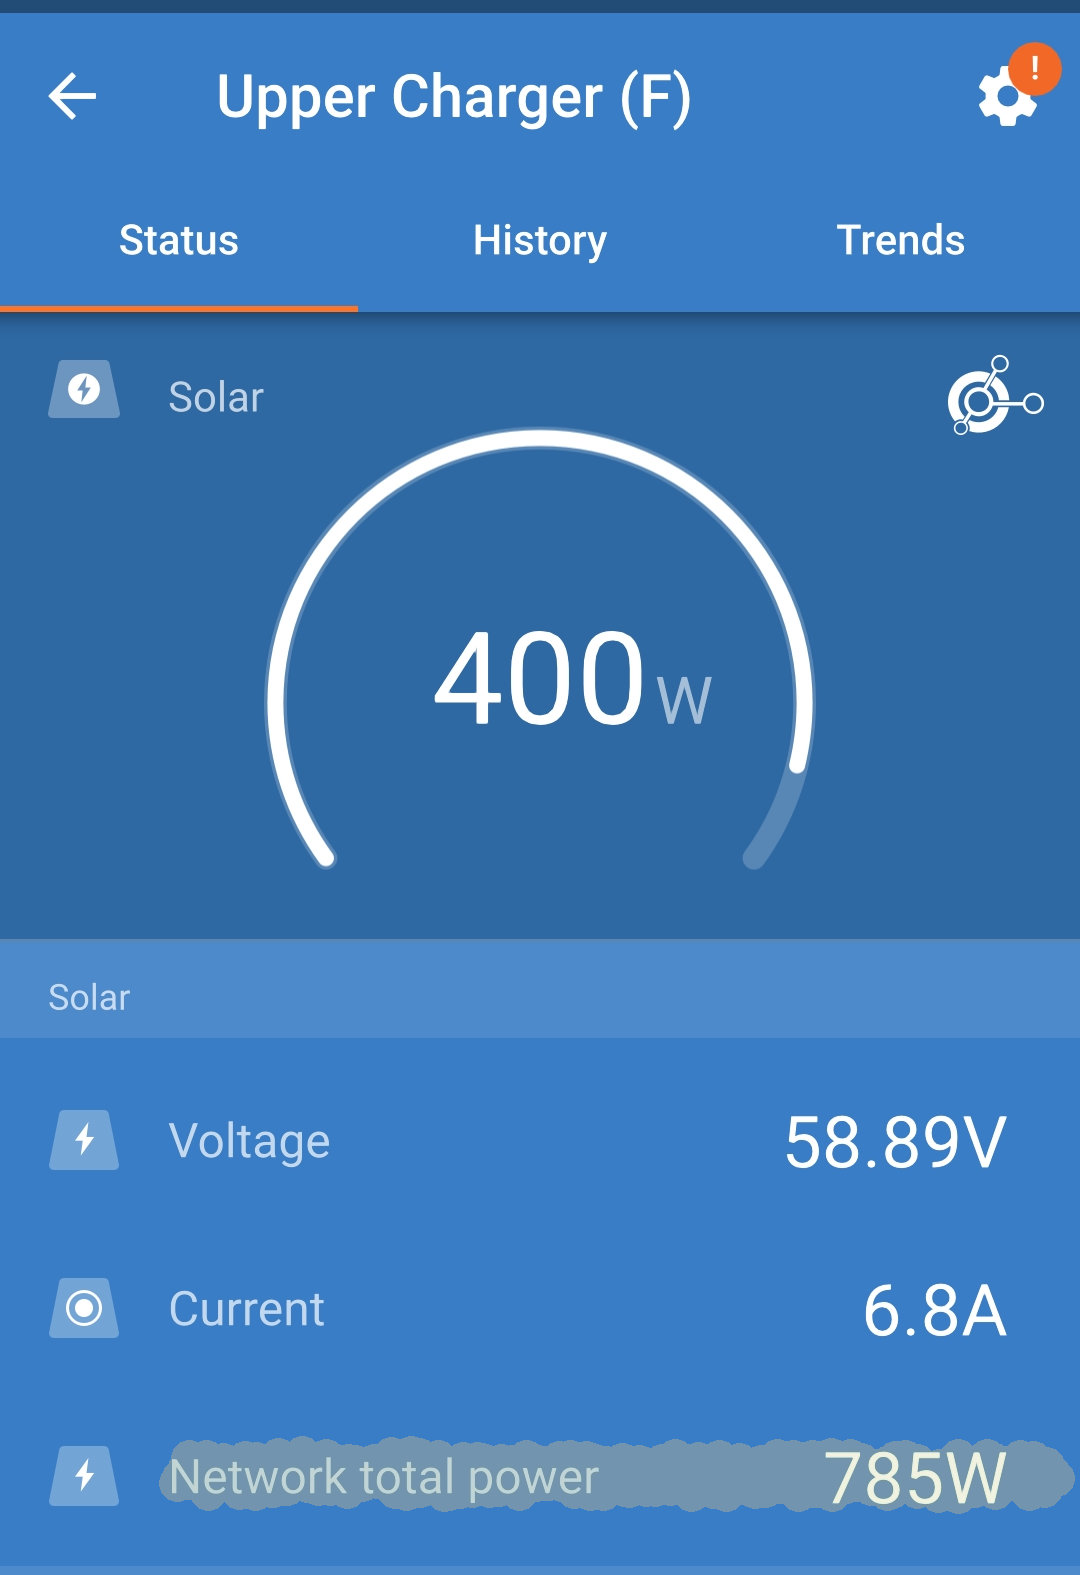
Now it was time for a little math. Our setup includes two Victron 100/30 charge controllers, each rated for up to 100V and 30A. On the roof, we mounted three 200W Renogy panels and two 120W Renogy panels—the challenge was wiring them for maximum output while staying within the controllers’ specs.
The two front 200W panels were the easy part. Each delivers up to 36.5V, so wiring them in series gives a theoretical maximum of 73V at 6.4A—comfortably within the Victron’s limits.
The rear setup, however, was trickier. That group consisted of one more 200W panel plus the two 120W panels. Ideally, all three would have gone in parallel for the best result, but we weren’t fully confident that the existing feed wires could safely handle up to 15A. Rather than risk it, we chose a compromise: wiring the two 120W panels in parallel, then putting that pair in series with the 200W panel. It’s not the most efficient configuration and does come with some power loss, but it kept us within safe wiring limits and allowed us to move forward on schedule.
If you’re tackling a similar project, I recommend experimenting with this handy solar wiring calculator
For wire protection, we ran all cables through ¾-inch PVC water pipes. We had hoped to find UV-rated wire loom, but the only option available was the standard black type, which didn’t seem ideal. To keep the PVC from becoming brittle in the sun, we coated the pipes with Krylon UV-resistant clear spray—a simple step for long-term durability.
Next came the wind baffle. The front panels needed shielding from air rushing underneath them, which could create a lifting force and put unnecessary strain on the structure. Our first attempt followed Brian’s (RV with Tito) idea of using a cut rain gutter. While it worked in principle, it rattled noticeably while driving. Eventually, we replaced it with a custom piece of sheet metal. That solved most of the problem – but not all of it.
The occasional rattle persisted. With our old flexible panels, noise wasn’t much of a concern, but this time we’d invested serious time and money into the roof and solar system. We wanted everything solid and quiet.
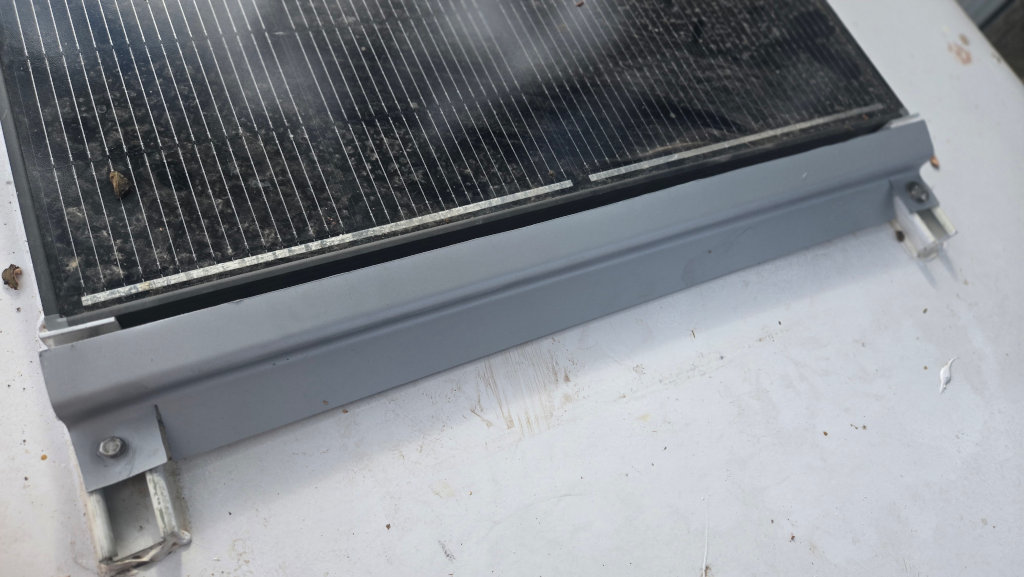
The mounts were sturdy, the cables neatly routed and secured off the roof, so what was left? After some sleuthing, the culprit revealed itself: the panels themselves. Sitting directly on the strut channels – metal against metal – they vibrated slightly whenever the roof or channels flexed.
The fix was simple but effective. We added rubber spacers between each panel and the strut channel—about six inches from the top and bottom, plus one in the center. That little adjustment eliminated the rattle completely, giving us a strong, quiet installation.

After returning from a two-week trip, we couldn’t be happier with the new setup. We made a point of checking the stability and safety of the solar system often – especially before heading out each day – and everything has proven to be rock solid. No rattles, no noise, just steady, reliable power harvesting.
Which brings us to the big question: how do the Renogy Shadow Flux panels perform? In one word – awesome.
Most RVers deal with at least some shading on the roof, whether from the A/C unit, nearby trees, or brush. That’s where the Shadow Flux panels really shine. Even with partial shading, they delivered noticeably better performance than standard panels. While boondocking in the northern New Mexico wilderness, surrounded by trees, we still managed to pull in nearly 90% of rated capacity. For real-world conditions, that’s more than impressive.
We’ve been putting a lot of work into our Winnebago lately, and more maintenance and repairs are already on the to-do list. That’s just part of the RV ownership journey – after years of lighter upkeep, we’re now catching up in a big way.
This post turned out longer than usual, but then again, it was a big project. For now, we’re quite literally happy campers. See you on the road!
Michaela Merz is an entrepreneur and first generation hacker. Her career started even before the Internet was available. She invented and developed a number of technologies now considered to be standard in modern web-environments. She is a software engineer, a Wilderness Rescue volunteer, an Advanced Emergency Medical Technician, a FAA Part 61 (PPL , IFR) , Part 107 certified UAS pilot and a licensed ham . More about Michaela ..