De-gassifying the RV fridge
Having a propane flame boiling a mix of water, ammonia, and hydrogen doesn’t exactly scream “safe, modern RV fridge” to me. So – time to make a change.
This article describes our experience replacing the absorption cooling unit of our Norcold N611 with a JC-Refrigeration 12 V compressor based solution in a 2007 Winnebago Outlook Class C motor home.
Years ago, I had a propane accident. Nothing major, but painful enough. The flame just brushed my leg for a second, and that was more than enough to leave a lasting impression. Ever since then, I’ve been uneasy around propane. So having a burner running 24/7 in the back of our fridge? Not ideal. In fact, we used to turn the fridge off every night – because who wants to wake up in a flaming inferno?
Honestly, gas-powered absorption fridges are a leading cause of RV fires. And frankly, given the technology we have now, they should’ve gone extinct long ago. But the RV industry seems to love selling us outdated, inefficient tech (looking at you, rooftop A/C units) – mostly because, well, they can.
We’ve got 1000W of solar feeding 400aH of LiFePO4 batteries – more than enough to support a modern 12V compressor fridge. But I couldn’t find one that fit our RV’s fridge cavity. So we went with the JC-Refrigeration kit, which replaces the old absorption cooling system with a 12V compressor setup.
While my husband and I are pretty handy with tools, this retrofit wasn’t exactly a walk in the park. Not because the JC-Refrigeration kit or its documentation was bad – quite the opposite – but because, as always, you never know what the RV manufacturer (Winnebago, in our case) decided to do on any given assembly day.
We disconnected the propane line and power, removed all the mounting screws… and the fridge still wouldn’t budge. The documentation mentioned that on some Winnebago models, there might be hidden screws under the roof vent. Up I went to check – nothing.
“Are you sure?” asked my husband. “The fridge still won’t move.”
So up again I went, flashlight in hand. Checked every nook and cranny. Still nothing.
Back on the ground – no movement.
“Give me the flashlight,” he said.
Great. I’d left it on the roof. Up again. Another look. Still nothing.
Turns out it was a 120V receptacle mounted half to the fridge, half to the wall. One of those tiny things that make projects like this just a bit more annoying than they need to be.
Then there was the final aluminum fin screw – rusted beyond recognition. Why on earth didn’t they use stainless steel? It had to be drilled out. There goes another 30 minutes.
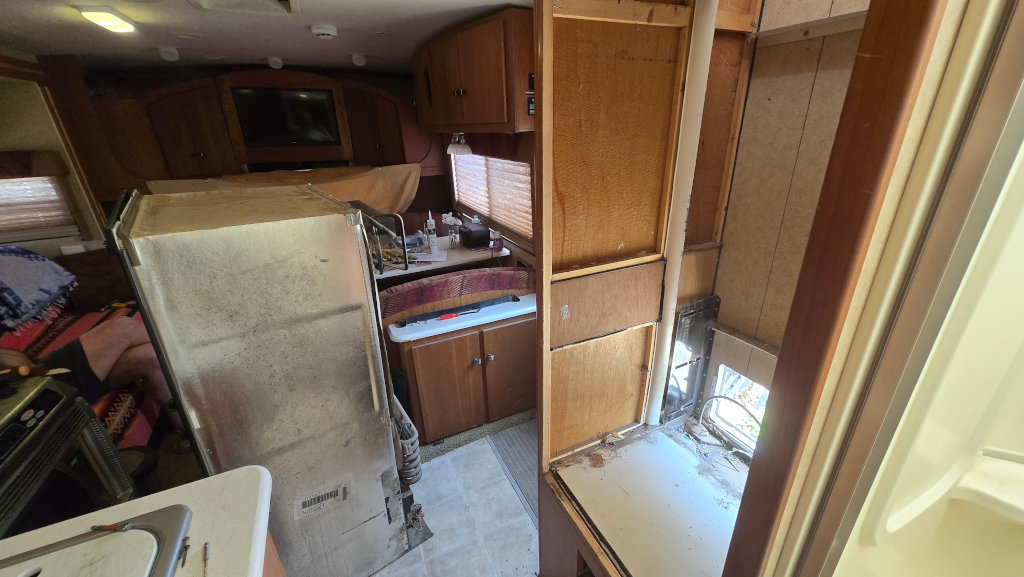
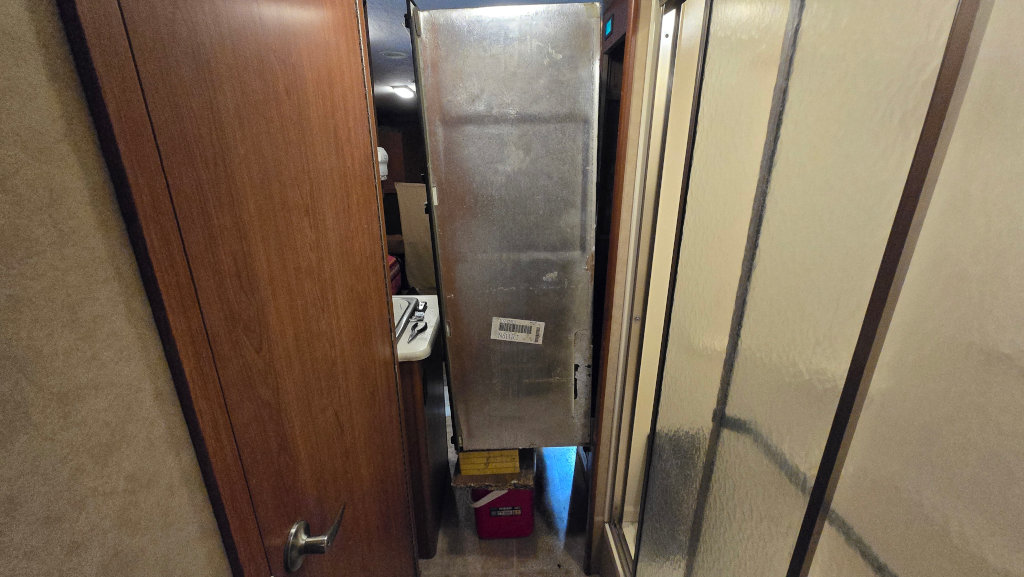
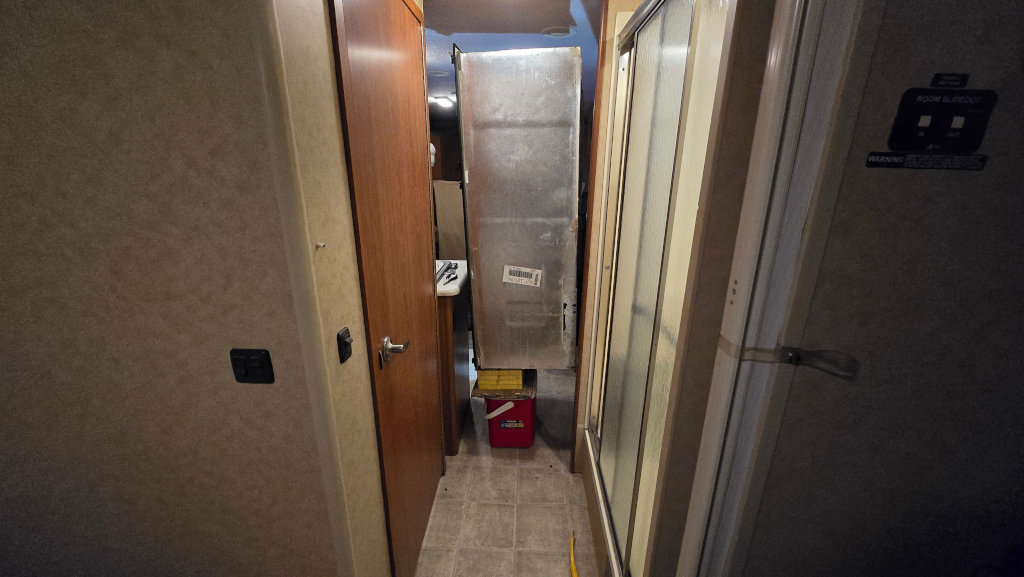
Getting the fridge out was a near-impossible puzzle. Even with the sink’s fold-down side table removed, there wasn’t enough clearance. Mounting brackets on each side stuck out a full three inches. We had to remove those just to squeeze the fridge out – with barely an inch to spare.
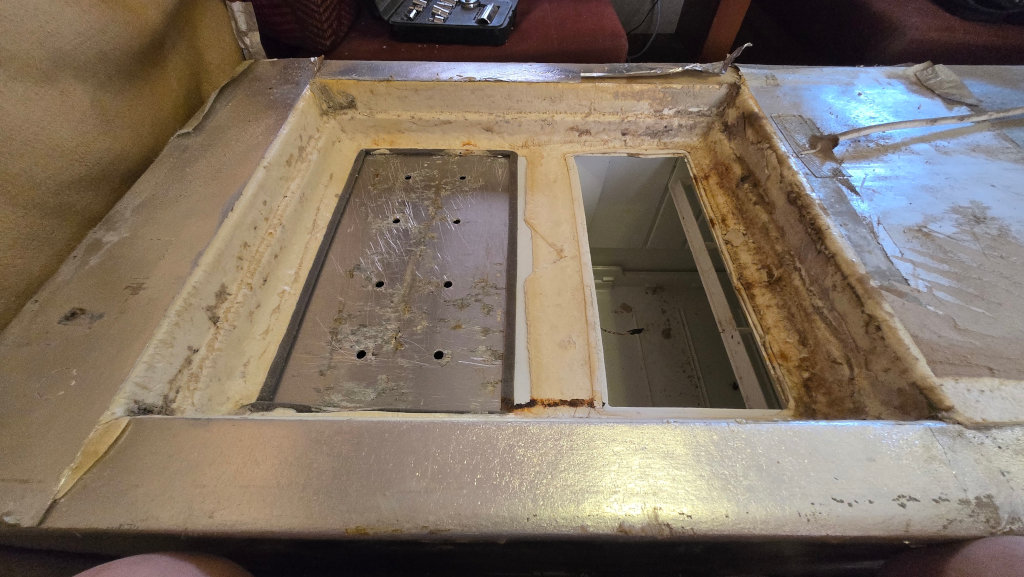
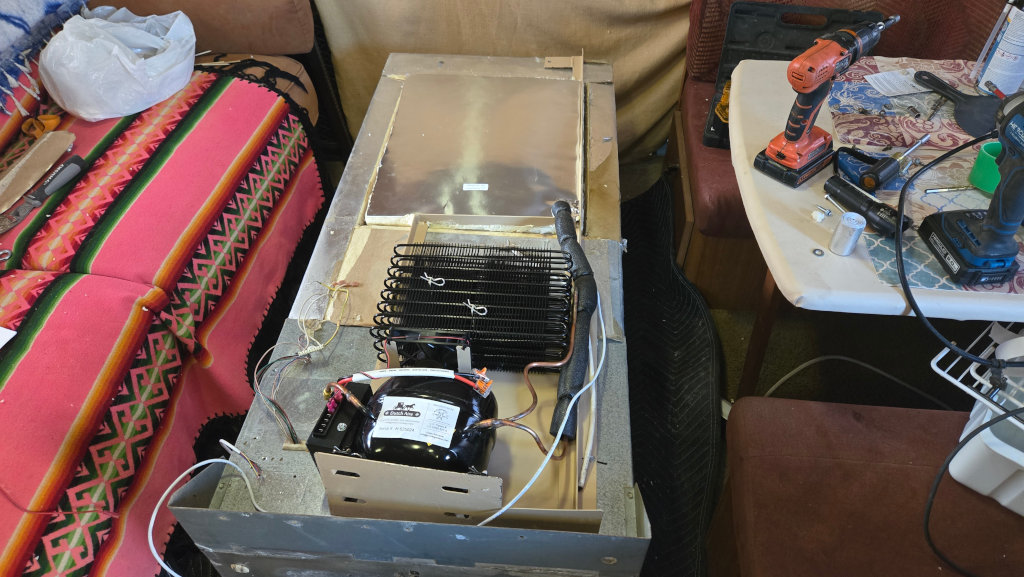
Once the fridge was safely on the ground, removing the old cooling unit was relatively easy – only took about 30 minutes. We carefully cleaned the back of the fridge box, stripped out the old foam and thermal paste, and prepped the aluminum freezer plate with acetone.
Now for the tricky part: mounting the new cooling unit. Eight screws in the freezer, two in the fridge compartment – all of which needed to line up perfectly with the new unit’s mounting holes. You cannot drill new holes or you risk hitting coolant pipes.
So here’s the method: stand the fridge upright, insert the new unit, and wiggle it around until you can see the mounting holes from inside the freezer. Temporarily screw it in with self-tappers, lay the fridge down again, mark the chassis screw points, remove the screws, and then – thermal paste time.
We were worried the paste might cover the holes, so we tried using toothpicks to mark them – which made the cooling unit look like some mad science project. That didn’t work out, but thankfully we managed to keep the paste away from the holes. Also: don’t tighten the screws until all are in, or paste may ooze and cover the remaining holes.
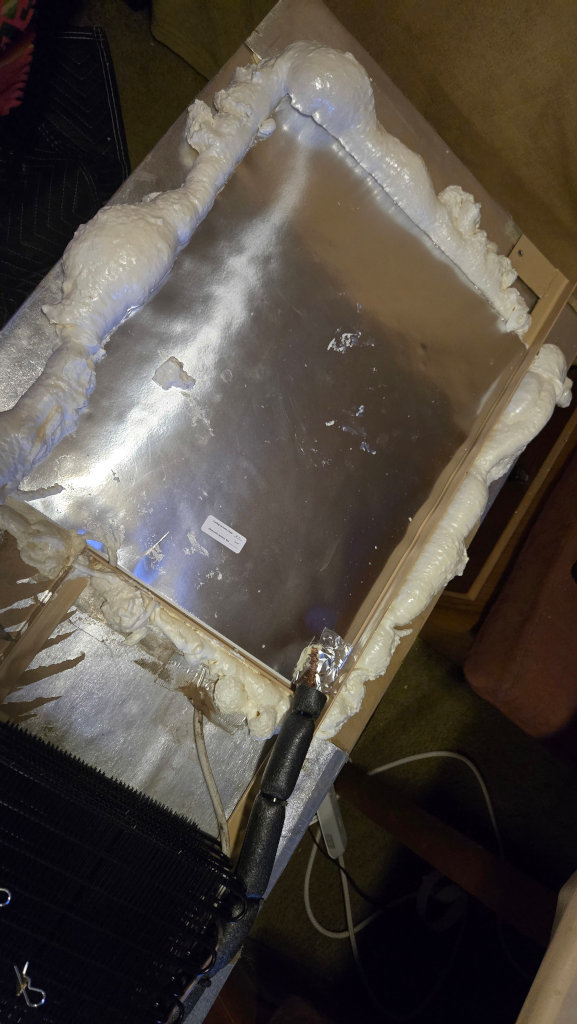
Next step: foam in the cooling unit. Gloves highly recommended. You want the foam to fill every gap for proper insulation. After curing for two hours, we trimmed the foam and sealed the edges with aluminum tape for a cleaner look.
Final step (or so we thought): connect 12V power to the control unit and compressor.
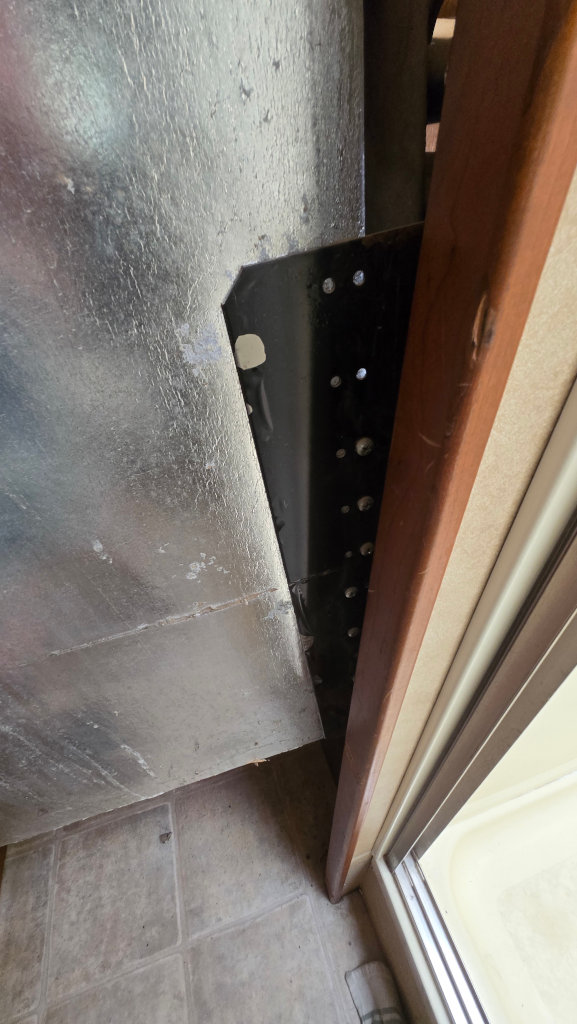
But surprise – the compressor sticks out about an inch farther than the old unit. Not enough room to slide it back in the easy way. We had to twist, tilt, and heave the fridge over the sink and back into place. At 8PM. Tired. Hungry. Cranky.
Once in position, we rigged a pedestal out of an icebox and some boards to lift and align the fridge, reattached the brackets, and finally – the fridge was back in its home.
Connected the 12V again, took a deep breath, and flipped the switch.
It hummed. Success!
The fridge cooled from 87°F to 63°F in about 45 minutes – even with me sneaking peeks. Current draw is about 8A at 12V (~100W). With a 60% duty cycle, that averages to ~4.8A – or about 83 hours of runtime on our battery without solar input. That’s pretty solid.
And the best part? No more open flame heating mystery chemicals in the back of my RV.
Mission accomplished.
UPDATE: 2025-07-16: The Gasket Strikes Back
Everything seemed to be working great after the install – the fridge was humming, no flames in the back, and power draw looked good. But 24 hours in, something wasn’t right. The compressor was running nonstop, and the fridge just couldn’t reach the set temperature. It wasn’t getting cold enough.
We noticed two clues:
- Ice was forming in the freezer compartment.
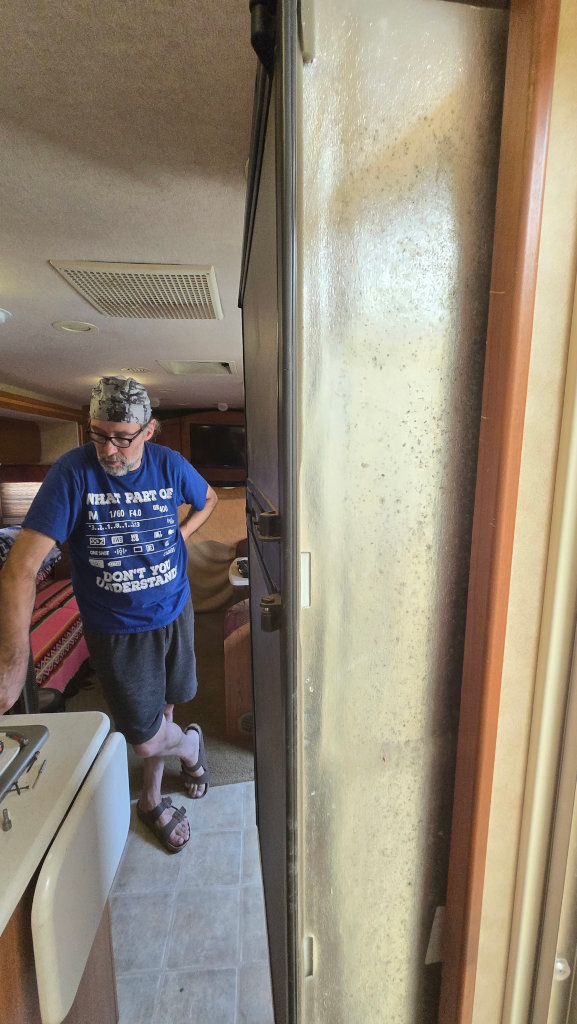
- My thermal camera showed a big dark ring around the doors.
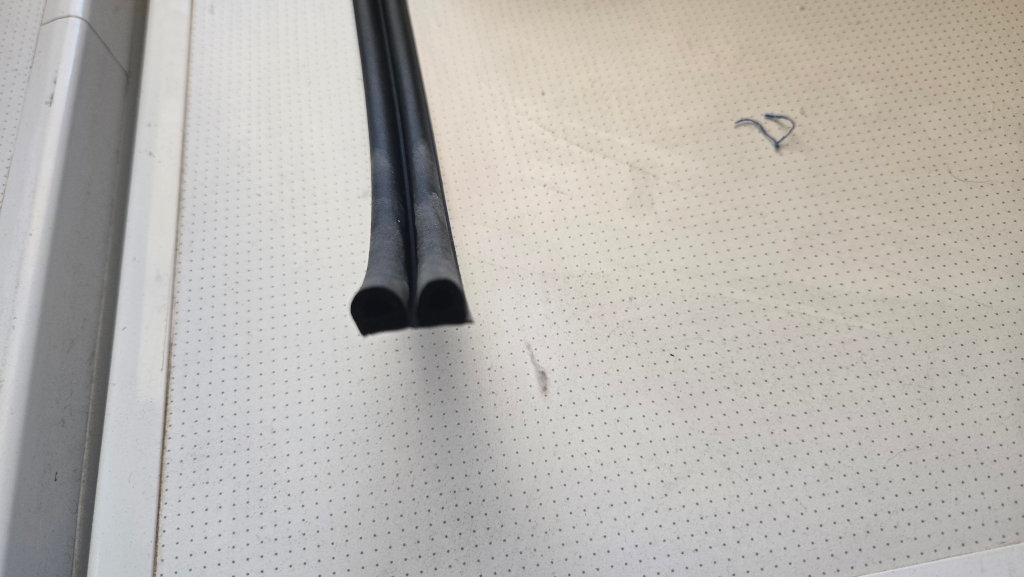
Yep — the gaskets were toast.
We hadn’t even thought about the gaskets when we planned the conversion. But the fridge box is almost 18 years old, and time clearly took its toll. Of course, Norcold doesn’t offer replacement parts for this model anymore, and scouring the internet came up empty. Some companies still manufacture custom gaskets, but… $250? Oof. That stung.
Cue the creeping sense of doom. Was all that work for nothing? Eight hundred bucks and two days of sweat down the drain? I tried everything I could to revive the gasket: a coat of petroleum jelly, some gentle persuasion with a hair dryer… nothing worked.
Looking back, I realized that we always had ice buildup in the freezer. But because the old fridge was running quietly on propane or 120V, I never noticed that it might have been running constantly – maybe for years. I just never connected the dots.
So there I was, measuring the RV door, wondering if a new $1,500 fridge could even fit through it. I was frustrated, disappointed, and honestly, a little mad. We’d planned this conversion for months – read everything, watched every video, measured twice, cut once. But we’d overlooked the simplest question: Was the box still good enough to begin with?
In a last-ditch, Hail-Mary attempt, we picked up a rubber-based auto/marine-grade door seal from ACE Hardware and glued it right over the old, worn-out gasket. We didn’t have much hope — and mentally, we were already pricing out a brand new fridge.
But… it worked.
About two and a half hours later, the compressor shut off for the first time. Temps were at 0°F in the freezer and 39.5°F in the fridge. I couldn’t believe it.
I don’t know how many times I ran out to the RV that night. Sometimes the compressor was running, sometimes it wasn’t. Temperatures would creep up two or three degrees, then settle back down. Just like it’s supposed to. It was actually working.
Will it last? Who knows. But this whole experience gave us one big takeaway: the install was solid. The fridge works beautifully – if the door seals properly. It’s reassuring to know we did everything right, and now we’ve got confidence that a professionally made gasket might be worth the investment after all.
We’ll cross that bridge when we get to it. For now? I’m calling this a win.

Michaela Merz is an entrepreneur and first generation hacker. Her career started even before the Internet was available. She invented and developed a number of technologies now considered to be standard in modern web-environments. She is a software engineer, a Wilderness Rescue volunteer, an Advanced Emergency Medical Technician, a FAA Part 61 (PPL , IFR) , Part 107 certified UAS pilot and a licensed ham . More about Michaela ..
Call me super impressed. Not only impressed with the success of the fridge replacement but impressed with the engaging and detailed description of the process. Thank you.
I am very impressed with all you do. I think our door gaskets could use repairing also. They were new in 2009! That’s a long time. I wish I had your energy. ❤️❤️
Oh that was a good read, Michaela. Copy and paste to our page if you want. Very good write-up.