USB Cam DVR – DIY
Want to record video without laptop, phone, Internet, cloud or app? You need a USB cam DVR (digital video recorder). But: There’s no such thing available to buy. So – I had to build it myself.
For a project, I needed a simple camera that continuously records video and audio inside a shed. Power is available, but no Internet. So I went looking for a very simple “dashcam” style camera, with not quite as much as a wide angle and audio capabilities.
But most importantly, it should be simple enough to not use an app. I wasn’t successful. Than I went down a rabbit hole. Because I had the brilliant idea to just use a simple USB cam and a DVR (Digital Video Recorder) to record the video and audio. Such a DVR device, pretty much a small computer with an attached HD to plug in and record a USB webcam is most certainly available for purchase?
Is it?
The answer is .. no!
What?
Pretty much everybody has a USB cam. But you do need a computer to do your video calls. Why not double it as a party cam, nanny cam, security cam or whatever cam? Most of us changed their webcams over the years, as newer ones, better ones came available. With an USB DVR, we could continue to use those retired cams for certain recording tasks, without the need to carry a laptop around.
So – how do I envision that DVR to work? You have a small box with a button, you plug any USB cam in, press the button and everything gets recorded. It records xx hr blocks of data and when the disk is full, it erases the oldest block(s). Non stop recording, no configuration, no app, no Internet. Just unplug the drive to access the videos if required. That’s it.
But such a devices does not exist. Not even on AliExpress. I am disappointed at the Chinese engineers. They can build a $20 cam with internal storage, but they all require a weird app for the configuration. Sometimes even with a registration requirement? Really? I am not going to pollute my phone with stupid and potentially unsafe apps. Why not just build a nice cam that you power up and it starts recording?
So – after half a day of browsing, I came up empty. Time to fall back on my engineering background.
Here’s the recipe:
You need :
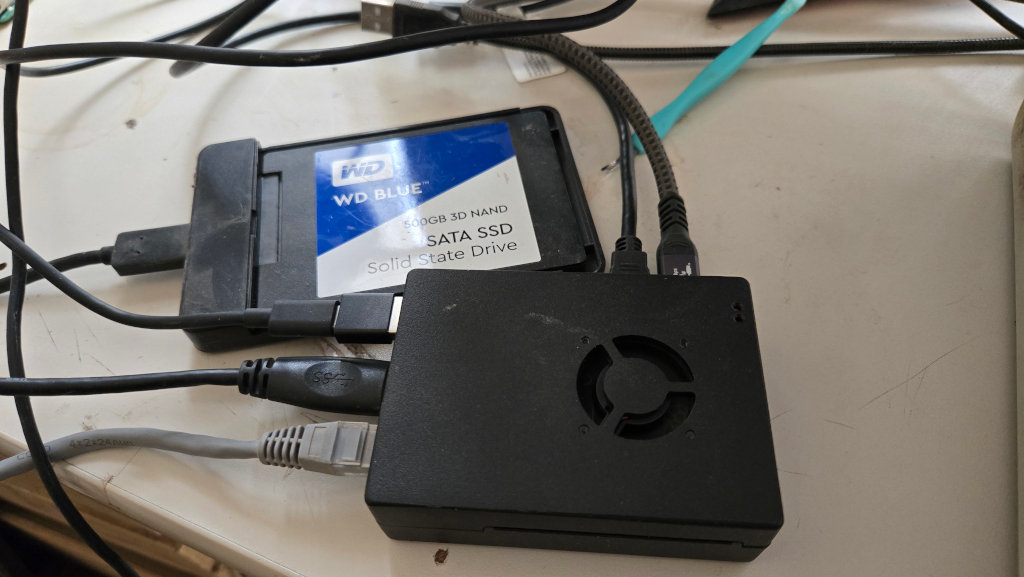
1 Raspberry Pi 4
1 USB Cam
1 USB SSD Drive
1 Power Supply
And software of course. The operating system (read only) and the recording software. Thankfully, we have v4l2 (Video for Linux). But before you slap everything together and start wrangling with the ffmpeg parameters, a short background on USB cams.
Most devices support UVC, which stands for USB video class. It is an interface between the camera and the host allowing you to select certain video formats and to get and set parameters. On Linux, you can access this interface with v4ls-ctl and uvcdynctl.
v4l2-ctl –list-formats-ext
gives you a list of formats and video sizes the camera support. These are the ones you have to use in your ffmpeg parameters. On a Rasperry PI, you can go up all the way to 1920×1080 if you want to use hardware acceleration, which I would strongly suggest. The hardware accelerated codec is called “ h264_v4l2m2m” and it requires the input video in YUYV format. Some cams provide that format in the requested size, others don’t. So you have to look up the cam’s capabilities to find out.
Neither of my cams had YUYV in 1920×1080 with at least 20 frames/second, but a MJPEG stream is available. We have to ask ffmpeg to prepare our video stream accordingly.
Let’s look at the initial recording setup:
ffmpeg -f v4l2 -s 1920x1080 -input_format mjpeg -r 20 -i /dev/video0 -color_range 2 -pix_fmt yuv420p -c:v h264_v4l2m2m -b:v 2M /storage/output.mp4
Everything should be self explanatory, the “-color_range tv -pix_fmt yuv420p” converts the MJPEG into YUYV so that the hardware accelerated codec can use it. That worked nicely.
Next up audio.
That was a bit more complicated, because whatever I did, I either had no audio, audio out of sync, audio stopping in the middle of the recording – nothing useful at all.
I even asked ChatGPT for assistance, but though it appeared to be well informed and it sure sounded convincing, it came up with no working solution. In the end, it asked me if I was sure my camera supported audio at all, which is funny, because we “discussed” the fact that the audio was out of sync.
Human:1 Computer:0
Back to the drawing board. First of all, one has to select the correct audio-input source. You can get an overview with “arecord -L” . In my case, I got
plughw:CARD=SE,DEV=0 OBSBOT
Tiny SE,
USB Audio Hardware device with all software conversions
which will become our input parameter for ffmpeg. Another problem lies in the fact that the video stream my take time to start while the audio stream (accessed from a different source) may start right away. So – it matters how you place the different streams in the ffmpeg CLI. In the end, for the time being, I came up with the following working solution:
/usr/bin/ffmpeg -f alsa -ac 1 -i plughw:CARD=SE,DEV=0 -f v4l2 -input_format mjpeg -video_size 1920x1080 -i /dev/video0 -force_key_frames 00:00:00.000 -r 20 -acodec aac -b:a 128k -b:v 2M -pix_fmt yuv420p -color_range tv -c:v h264_v4l2m2m -y /storage/output.mp4
This records video at 1920×1080, with up to 20 frames/sec and an average bandwidth of 2M/sec. It also records (and converts) audio in mono (ac 1) at 128K/sec. The “key_frames” parameter helps to keep audio/video synchronized. The Raspberry PI4 remains at about 50% idle when recording.
With that out of the way, I am going to write a script that extracts the correct parameters from “v4l2-ctl” and “arecord” because my plug-n-play blackbox “DVR” should be able to handle all kinds of different UVC / USB cameras. Also: I am adding a RTC (Real Time Clock) to get the correct time stamps. Not strictly necessary, but it makes life easier.
Michaela Merz is an entrepreneur and first generation hacker. Her career started even before the Internet was available. She invented and developed a number of technologies now considered to be standard in modern web-environments. She is a software engineer, a Wilderness Rescue volunteer, an Advanced Emergency Medical Technician, a FAA Part 61 (PPL , IFR) , Part 107 certified UAS pilot and a licensed ham . More about Michaela ..