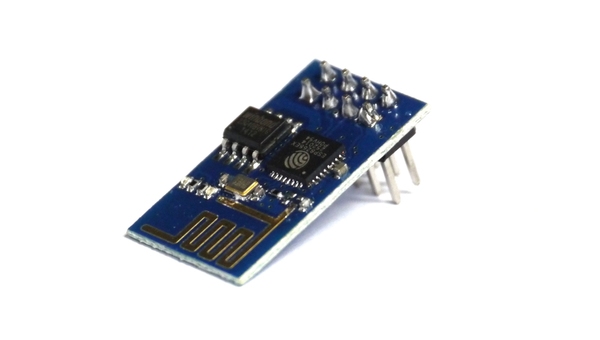
Secure Setup Of An ESP8266 Server
Yep – those little ESP chips are cute. And powerful. And easy to program. And much more. But if you are going to control more than – say a closet light – you want to think about security. This requires hashes and tracking of the current time.
There are in principal two ways to communicate with your ESP8266: They can connect to your server to deliver sensor data or to wait for commands, or they can set up a web server and you are going to contact them if you want them to do something. In this post, I’ll concentrate on the second method.
 Security is of critical importance in the IoT world. People are working to implement SSL/TLS into the ESP environment and I think that’s a good idea. However – until this time .. and even later .. we can use other methods already available to protect our communications.
Here’s the thing: Cryptography adds a lot of complexity (passwords, certificates .. ) but all we really need is to ensure it’s really “us” who turned the meat grinder (or anything else) on or off. We don’t look so much for confidentiality, integrity is much more important. If someone would hack my WiFi network he could see that I send my living room light the “on” command. But I don’t want him to be able to control my lights even if he knows how.
And we can achieve this without any added library or advanced cryptography.
In order to secure our communications, we need to be able to verify that the command is valid and unaltered. That’s easy: We add all of the payload and concatenate a secret “pre-shared” key. We hash that string and send the resulting hash along with the command.
String salt = some random bytes;
 String data = command + sensordata + secret + salt;
 String hash = sha1(datat);
 String ServerRequest = http://someurl/path?command=command&salt=salt&payload=sensordata&hash=hash&salt=salt
The receiving entity performs the same operation and should it resolve to the very same hash, the command is authentic. A determined hacker would of course record a number of commands (remember: the strings are not encrypted) and brute force as long as it takes on a different computer until he is able to determine the secret. The “salt” makes it harder to use pre-calculated tables. But he will eventually crack this protection. But it’s safe enough against drive-by hacking.
However – a hacker could also just “record” the string and use it at his convenience to switch our stuff on or off. Because the string is correctly hashed and the receiving entity doesn’t know that the string had been send from a “bad” station. Adding some IP-number filtering would add another layer of protection but that too can be faked without a lot of effort.
It would be much better if we could somehow invalidate the command after a certain amount of time. But – you say – the ESP8266 / Arduino environment doesn’t have a time environment. That’s true. But we can create one.
This requires two steps:
- Getting the correct time
- Keeping track of the time
In order to get the time, you can contact an NTP server on the Internet. There are sketches and code snipplets available on the Internet to achieve this. No additional libraries necessary. Now that you have the time (called Unix seconds or Epoch, seconds since January 1st, 1970) you have to keep it in sync on your chip. The Arduino environment provides the millis() function which returns the milliseconds since program start (or boot). Both values are assigned to unsigned long, but the NTP time is in seconds, the millis are – as the name suggests – in milliseconds. However – the combination of the NTP time and the milliseconds allow us to keep track.
unsigned long epoch = getNTPtime();
unsigned long currentMillis = millis();
unsigned long startTime = epoch - (currentMillis / 1000);
You would do something like this on boot and after the WiFi connection has been established. Please note: The “getNTPtime()” function is not defined in the standard environment. But – as mentioned earlier – there are code-snipplets out there.
So – how would you get the current time stamp?
unsigned long getTime()
{
      return(startTime + (millis() / 1000));
}
That would provide you with a current time stamp (in UTC) that can be compared with time stamps passed in the hashed request. In other words: Every request can be made to expire after a set amount of time.
How accurate is the millis() in the ESP8266/Arduino environment? Actually – it’s pretty good. The clock seems to lose or gain a second or so per day. You could track this and adjust your calculations, or, be lazy and call the NTP server every few days (that’s what I am doing). Why not calling the NTP server more often? Maybe whenever the time is needed? Because that’s inconsiderate. Imagine every IoT device would call an NTP server whenever somebody switches the light on. That’s just not the way we should use a service that has been provided for free. It may even get you blocked from that server. And it’s unnecessary anyway. If you set your command timeout (expiration) to 30 seconds or so, your ESP can go for weeks before it would be necessary to re-sync the time.
So – how would you convert the NTP time – how can you convert it into a human readable format?
You will have to to the math. Literally. It’s not overly complicated and a good way to tickle your brain. After all those years of using ready made time converting functions it was an amusement for me to think and code a seconds to date conversion. But I am going to give you a hint: Leap years are those years that leave no reminder if divided by 4 OR 100 .
if ((year % 4) && (year % 100))
    Serial.println("It's not a leap year");
That’s all for now. Have a great time hacking your ESP8266 chip.