Creating the Amazon “Alexa” universe from scratch
The problem with geeks: We are never satisfied. But that’s not too much trouble for those of us who learned to code in the dark-ages (emm .. about 25 years ago). We are used to sit down and learn, analyze, create or change stuff until we’re happy. Which lasts about 10 minutes ….. or until we find something else that needs to be changed.
First it was pure geek curiosity – and an Amazon Echo Dot. It was cool to query information, set timers and so on. Next was a regular Echo device in another room. Followed by a few wireless Alexa controlled power switches. This required some thinking: Do I really want to run cheap Chinese technology in our network? No. So, I isolated the Amazon stuff within a double NAT’d environment.
But why can’t I turn the TV on and off?
We “first generation hackers” follow an old fashioned, but time honored and universal truth: Don’t rely on others if you can code it yourself. The “Harmony” disaster was a wake up call. So I learned to do Alexa skills (which has grown into an obsession), mated an Infrared LED to our home network server and some days later, I was able to “voice control” the TV set and amplifier (and various connected “players”).
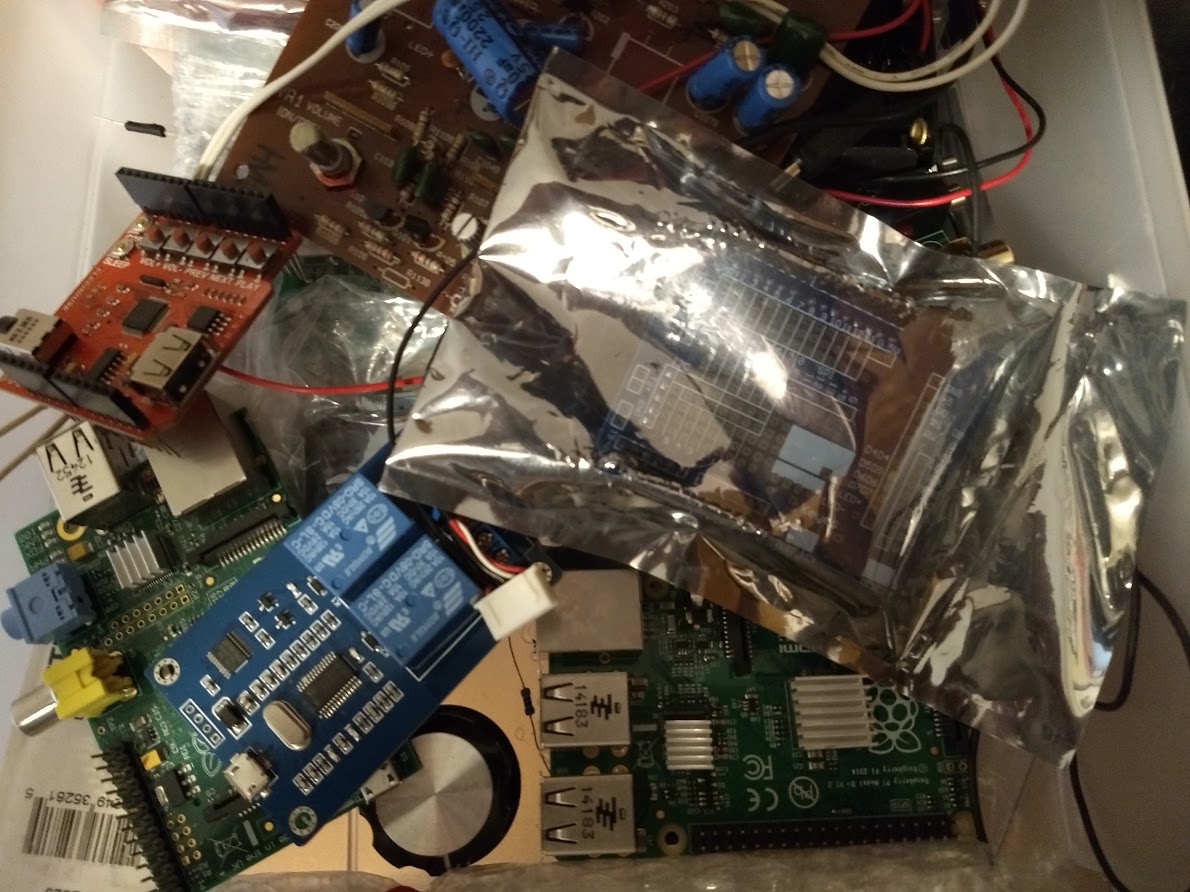
 But the geek wasn’t satisfied. Why even buy Amazon units or WiFi switches when one can hack something from spare parts. A raspberry pi, usb microphone, a relay card and some other stuff is necessary to get going. First attempt was a Raspberry Pi Model “B” . I followed this approach to try to get “Alexa” running, but it failed. First because the gcc compiler was “to new” to be used (I downgraded to 4.8 which worked fine), second because the configured “Sensory” “wakeword” generator doesn’t run on Arm v6 environments. So I switched to “kitt.ai” added a few other things (liblas-dev, gstreamer-1.0-alsa, mp3 modules for gstreamer-1.0 … ) and had “Alexa” finally ready to answer. But at about 5% idle while playing mp3s from my collection – it was obvious that the “B” model Raspberry wasn’t up to the task anymore. Thankfully my husband had a “Raspberry 2” connected to his sound system and I was able to sweet-talk him into releasing it to me.
Big difference – a full compiler run for the Alexa app just takes about 20 minutes now (about 2 hrs on the B) and I was able to get into the code to change things I didn’t like (or address warnings) without having to wait too long.
Next step: The relay card. I had an old “Hivitronix” 8-port card – but couldn’t get it to work. The only piece of documentation I could find online was behind a “Thanks – But No Thanks” pay wall – so I used a smaller 2-port card. But – quite frankly those “IcStations” relay cards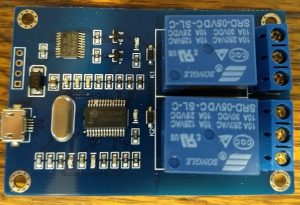 suck. Because the relays are not addressed independently but by pushing binary codes (0x00 all off, 0x01 Relay 1 on, 0x02 Relay 2 on … ) over a usb-tty. Which would be OK if there would be a method to query the status of the relays. But there isn’t any – and that’s a problem. Because if you send a “0x02” to turn “Relay 2” on, you automatically switch “Relay 1” off. To switch “Relay 2” on without changing the status of “Relay 1” you need to know the status of “Relay 1” to send the correct “0x03” (Relay 1 is on) or “0x02” (Relay 1 is off). In other words – the coder needs to provide some software to maintain the status independently. Which is unreliable (there’s no way to know if the relay actually did switch on or off) and inherently inconvenient in a stateless environment. But acceptable (due to not having alternatives). A little bit of soldering and the relay-card no controls AUX1 and AUX2 in this “Stargate Atlantis” style power switcher.
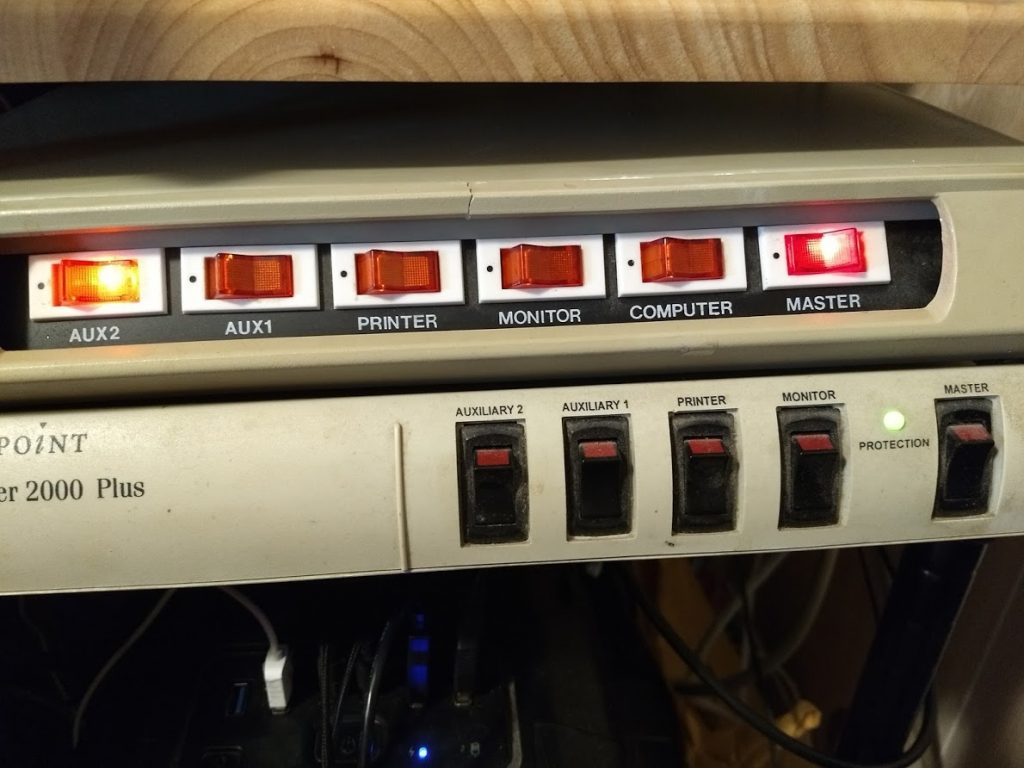
Now I had to glue everything together. The “Raspberry Pi” (“Alexaberry”) acts as an Amazon “Echo” sender and as a receiver for power switch commands.
Alexa .. tell Alexaberry to turn the light on
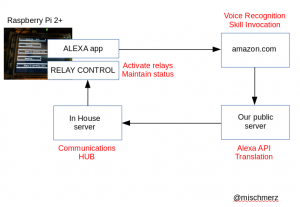
When “Alexaberry” recognizes the wake-word, it records and sends the voice data to Amazons servers. The appropriate action is sent to one of my public servers and is being parsed there.
Light On
My public server knows how to contact my home network server and it it sends the appropriate query. The home network server knows how to contact “Alexaberry” and forwards the request. “Alexaberry” finally sends the appropriate binary code (depending on the status of the relays) to the relay card in the power switch box and the light turns on.
Here’s a picture (click for full size):
So – that’s it. It’s actually not that complicated to build a complete Amazon “Echo” environment from scratch.
Alexa - end blog
PS: Questions? Fell free to ask.
